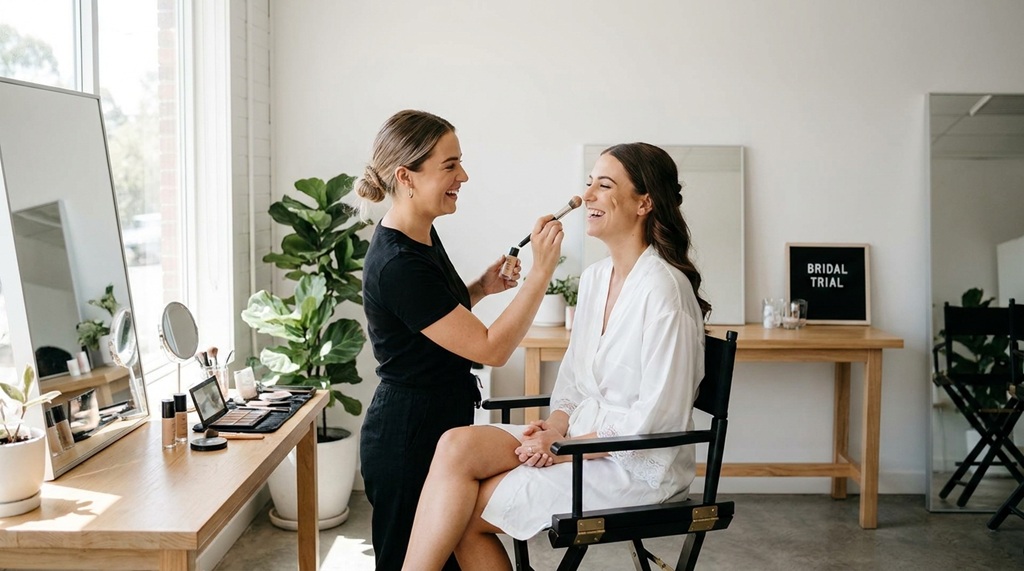
Makeup trial tips prevent wedding day disasters by catching problems before they happen. A trial run lets you test colors, longevity, and skin reactions weeks in advance. This means no surprises on the one day you can’t afford them.
Many brides skip the trial or treat it casually. They assume the makeup artist will “just know” what they want. This assumption causes most wedding day makeup regrets.
A proper trial is a rehearsal, not a formality. It’s your chance to problem-solve before the pressure of the actual day hits. Below, we’ll break down exactly how to use your trial to avoid common disasters.
Why Skipping a Makeup Trial Puts Your Wedding Day at Risk
Skipping a trial removes your only safety net for makeup mistakes. Without one, you’re testing a brand-new look for the first time on your wedding morning. That’s a risky moment to discover a shade doesn’t suit you.
A trial gives you and your artist a shared reference point. You both know exactly what “the look” means going into the big day. Without that reference, miscommunication becomes far more likely.
What Can Go Wrong Without a Trial
Several issues tend to surface when brides skip this step:
- Foundation that oxidizes and turns orange by midday
- Products that trigger allergic reactions or breakouts
- A style that looks great in photos but feels wrong in person
- Timing issues that throw off the entire wedding morning schedule
Each of these problems is avoidable. A trial simply moves the discovery process earlier, when there’s still time to fix things.
Schedule Your Trial at the Right Time
The best time for a trial is four to eight weeks before the wedding. This window gives you enough time to adjust your look if needed. It also keeps the trial close enough to reflect your current skin condition.
Booking too early creates problems. Skin tone, weight, and hairstyle can shift over several months. A trial done too far out may not match how you look on the actual day.
Align the Trial With Other Wedding Prep
Try to schedule your trial after any major skin treatments. This includes facials, chemical peels, or dermatologist visits. Your skin should be in its “final” state, or close to it, when you test your makeup.
It also helps to schedule your trial on a day similar to your wedding day. If your wedding is outdoors in summer heat, don’t trial in an air-conditioned salon in winter. Match the conditions as closely as you can.
Testing Your Trial Makeup Under Authentic Wedding Lighting
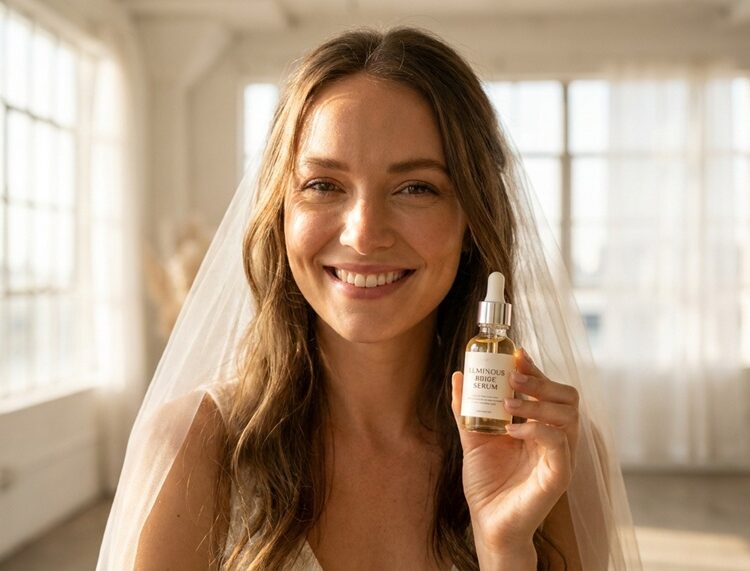
Real-world environments immediately expose flaws that standard studio lighting conceals. Because flash photography, high-definition video, and shifting natural sunlight react drastically differently to cosmetic formulas, evaluating your look under varied light conditions ensures your foundation stays flawless and flash-proof across every angle. To maximize these results, optimal skin preparation is essential following the bridal skincare routine that guarantees a glowing look provides a smooth, hydrated canvas that allows your trial products to blend effortlessly, adhere seamlessly, and sustain a radiant finish from the ceremony through the late-night reception.
Check How Makeup Looks in Photos
Ask your makeup artist to take photos during the trial. Use your phone’s camera, not just a mirror. Flash photography and natural light can wash out or intensify colors differently than they appear in person.
Review the photos critically. Does the foundation shade match your neck and chest? Does contour look natural, or does it read as harsh lines in flash photography?
Check How Makeup Holds Up Over Time
Wear your trial makeup for at least six to eight hours. This mimics the length of a typical wedding day. Watch for fading, creasing around the eyes, or oil breaking through the foundation.
Take notes on how your skin behaves. Oily skin may need extra setting powder. Dry skin may need a dewier, more hydrating base. This information helps your artist adjust the formula for the real day.
Test in Natural Light and Indoor Lighting
Step outside during your trial if possible. Natural light shows true color accuracy better than any indoor lighting. Then check how the same makeup looks under warm indoor lighting, since your reception venue may use similar lighting.
Do a Patch Test for New Products
A patch test prevents allergic reactions from ruining your wedding day skin. Apply a small amount of any new product to your inner arm or behind your ear. Wait 24 to 48 hours to check for redness, itching, or swelling.
This step matters even if you have no known allergies. Skin reacts differently to new formulas, especially under stress or hormonal changes before a wedding. A reaction on a random Tuesday is annoying. A reaction on your wedding morning is a disaster.
Products Most Likely to Cause Reactions
Pay close attention to these product types during testing:
- New foundation or primer formulas
- Fragranced setting sprays
- False lash adhesive
- Lip products with unfamiliar ingredients
If your skin reacts to any of these, you’ll have time to find an alternative before the wedding.
Communicate Clearly About Your Vision
Clear communication prevents the artist from guessing what you want. Bring reference photos that show the exact look you’re imagining. Explain what you like and dislike about each image, not just the overall vibe.
Vague requests lead to mismatched results. Saying “natural glam” means something different to every artist. Specific examples remove that ambiguity.
Questions to Discuss During the Trial
Use your trial time to ask direct questions:
- What products will you use on the actual wedding day?
- How will you adjust the look for photography versus real life?
- What’s your touch-up plan for a full day of wear?
- Do you bring backup products in case of weather changes?
These answers reveal how prepared your artist is for wedding day logistics, not just a single trial session.
Plan for Weather and Venue-Specific Challenges
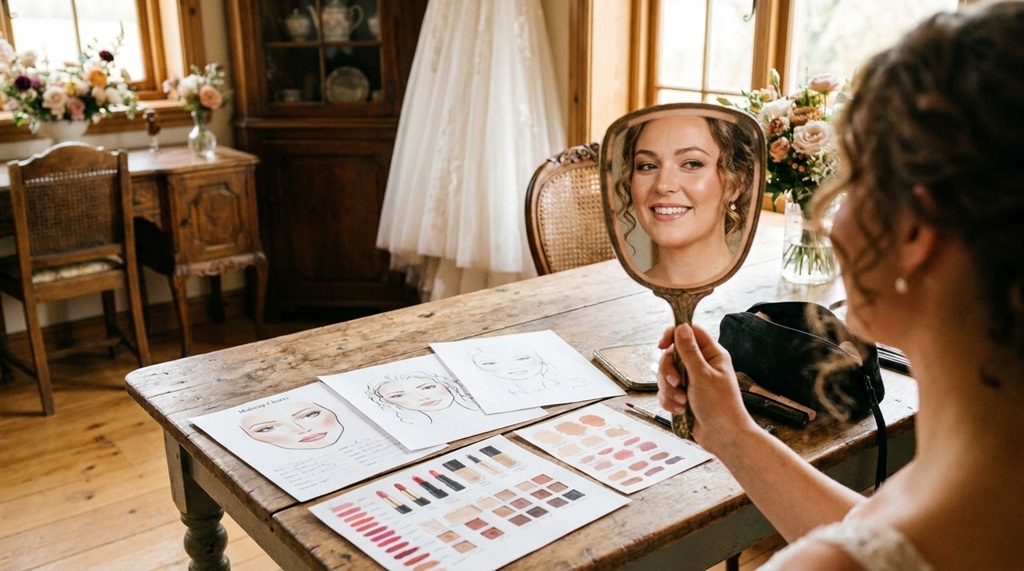
Weather and venue conditions affect makeup differently than a controlled trial setting. Outdoor weddings face heat, humidity, or wind. Indoor venues may have unusual lighting or air conditioning that dries out skin.
Adjusting for Outdoor Weddings
Ask your artist about waterproof or long-wear formulas if you’re getting married outside. Humidity causes regular foundation to slide. Heat can melt certain lip products within hours.
A genuinely useful tip many articles skip: bring a small fan or handheld mister to your trial if your wedding is outdoors. Testing your makeup while lightly sweating shows you exactly how it holds up in real heat, not just air-conditioned comfort.
Adjusting for Indoor or Winter Weddings
Indoor heating can dry out skin fast, causing makeup to look flaky or cakey. If your wedding is indoors during colder months, ask about hydrating primers. These help makeup sit smoothly despite dry indoor air.
Build a Backup Plan Into Your Trial
A backup plan protects you if something unexpected happens on the wedding day. Ask your artist what products they’ll bring for touch-ups. Confirm they have contingency options for common issues like oily breakthrough or smudged eyeliner.
What Your Backup Kit Should Cover
A solid backup plan typically includes:
- Blotting papers or setting powder for oil control
- A travel-size version of your foundation for touch-ups
- Extra false lashes and adhesive
- A lip color that matches your original application
Confirm who is responsible for touch-ups during the reception. Some artists stay for part of the day; others hand off a touch-up kit to a bridesmaid. Know this plan before the wedding, not on the morning of.
Frequently Asked Questions
How many makeup trials should I do before my wedding?
Most brides need only one trial if it goes well. If you’re unhappy with the first result, a second trial is worth the extra cost. Two trials also help if you’re deciding between two different looks.
Should I bring my own products to the makeup trial?
Bring any products you know work well for your skin, especially if you have allergies. Your artist can incorporate them into the trial look. This is especially useful for sensitive skin types.
What should I wear to my makeup trial?
Wear a top similar in color and neckline to your wedding dress. A white or light-colored shirt helps you see how the makeup looks against similar tones. This gives a more accurate preview than wearing a dark t-shirt.
How long does a makeup trial usually take?
Most trials take one to two hours, depending on the complexity of the look. Allow extra time if you’re testing multiple styles. Rushing the trial defeats its purpose.
What if I don’t like my makeup trial results?
Speak up immediately during the session, not after you leave. A good artist will adjust the look on the spot. If problems persist, consider booking a second trial with the same or a different artist well before the wedding.
Conclusion
Makeup trial tips prevent wedding day disasters by turning guesswork into a tested plan. Scheduling at the right time, testing under real conditions, and patch-testing new products all reduce risk. Clear communication and a backup plan handle whatever the day throws at you.
Treat your trial as seriously as your wedding day itself. The extra effort now means one less thing to worry about later.